Vibe Coding Basics: Production Email Setup with Google Workspace, Resend, and Netlify DNS
Your web application is live. Users are signing up. You're sending automatic transactional emails through Resend software. But half of them land in spam. The other half bounce. Your customers never see the welcome message.
This is where vibe coding meets infrastructure reality. You shipped fast. Lovable software built your web application in days. Resend connected in minutes. But email delivery isn't something you can vibe code. It requires DNS configuration.
If you're a non-technical founder running a web application built with Lovable and hosted on Netlify, with email through both Google Workspace and Resend, this guide cuts through the confusion. We'll show you exactly how to configure your DNS on Netlify so emails from both services work reliably.
The Problem: Two Email Services, One Domain, Broken Deliverability
Here's the typical setup for founders like you:
You use Google Workspace (Gmail for your business) for business email. This software manages your team's email accounts: sales@yourcompany.com, support@yourcompany.com, etc. This is where your team communicates with customers.
You use Resend software to send automatic transactional emails from your web application. When someone signs up on your website, they get a welcome email. When they reset their password, they get a password reset email. These automatic emails come from your web application through Resend.
Both services need to send email from your domain. Both need to prove to Gmail, Outlook, and other email providers that they're authorized to do this.
The mistake most founders make: They set up Google Workspace's SPF record. Then they add Resend software's SPF record. Now they have two SPF records pointing to the same domain. This breaks the email authentication system.
Email servers see conflicting instructions and treat the mail as suspicious. Result: spam folder, bounces, or the email never arrives.
The solution: Create one unified SPF record that authorizes both Google Workspace and Resend at the same time.
Understanding DNS: Your Email's Proof of Identity
DNS (Domain Name System) is how email servers verify that messages from your domain are legitimate.
When someone sends an email to hello@yourcompany.com, the receiving email server looks up your domain in DNS. It checks for three special records that prove the sender is authorized to send from your domain.
SPF (Sender Policy Framework) is a line of text you add to your domain that lists all the mail servers allowed to send email from your domain.
DKIM (DomainKeys Identified Mail) adds a digital signature to your emails. This signature proves that the email message wasn't changed or tampered with while traveling across the internet.
DMARC (Domain-based Message Authentication, Reporting and Conformance) tells email servers what to do with emails that fail the SPF or DKIM checks.
Without these three records set up correctly, email servers treat your emails as unverified and untrustworthy. Your emails go to spam folders, bounce back, or never arrive.
Think of it this way: SPF is like a letter of introduction saying "I allowed these mail servers to send from my domain." DKIM is like a tamper-proof seal. DMARC is like instructions for what to do if the letter or seal looks forged.
The Key Insight: One SPF Policy for All Email Services
Here's the critical best practice that most founders miss:
You can only have one SPF record per domain. This is a strict rule. Multiple SPF records cause authentication to fail permanently.
If you have Google Workspace and Resend both sending from the same domain, you don't create two separate SPF records. Instead, you merge them into a single, unified SPF policy.
This is not optional. This is how the SPF email system works.
The unified record looks like this:
v=spf1 include:_spf.google.com include:resend.com ~all
This single line tells email servers: "Both Google Workspace's mail servers and Resend's mail servers are authorized to send from my domain."
Using include statements within a single SPF record is the best practice for managing multiple email software providers.
Why this matters: You're trying to launch your web application fast. You don't want to spend time debugging email problems. A single, unified SPF policy means you configure once and forget it. No conflicts. No surprises.
Why This Matters for Your Web Application
When you build with Lovable software and want production email delivery, you're likely in this situation:
Google Workspace software manages your business email. This gives you a legitimate email address (support@yourcompany.com) that your customers recognize and trust.
Resend software sends automatic transactional emails from your web application. Sign-up confirmations, password resets, order notifications. These automatic emails need to come from an address connected to your domain.
Both need to authenticate with the same domain. Both need SPF records.
The problem: if you add both services' SPF records separately, you end up with authentication failures. Email servers get confused. Your emails go to spam.
The solution: configure one unified SPF record that authorizes both Google Workspace and Resend software simultaneously.
This is not something an AI tool can do for you. You can't use Lovable or ChatGPT to handle DNS configuration. This is infrastructure work that requires manual setup and technical thinking. And it's worth doing right on day one because fixing email reputation problems later is much harder.
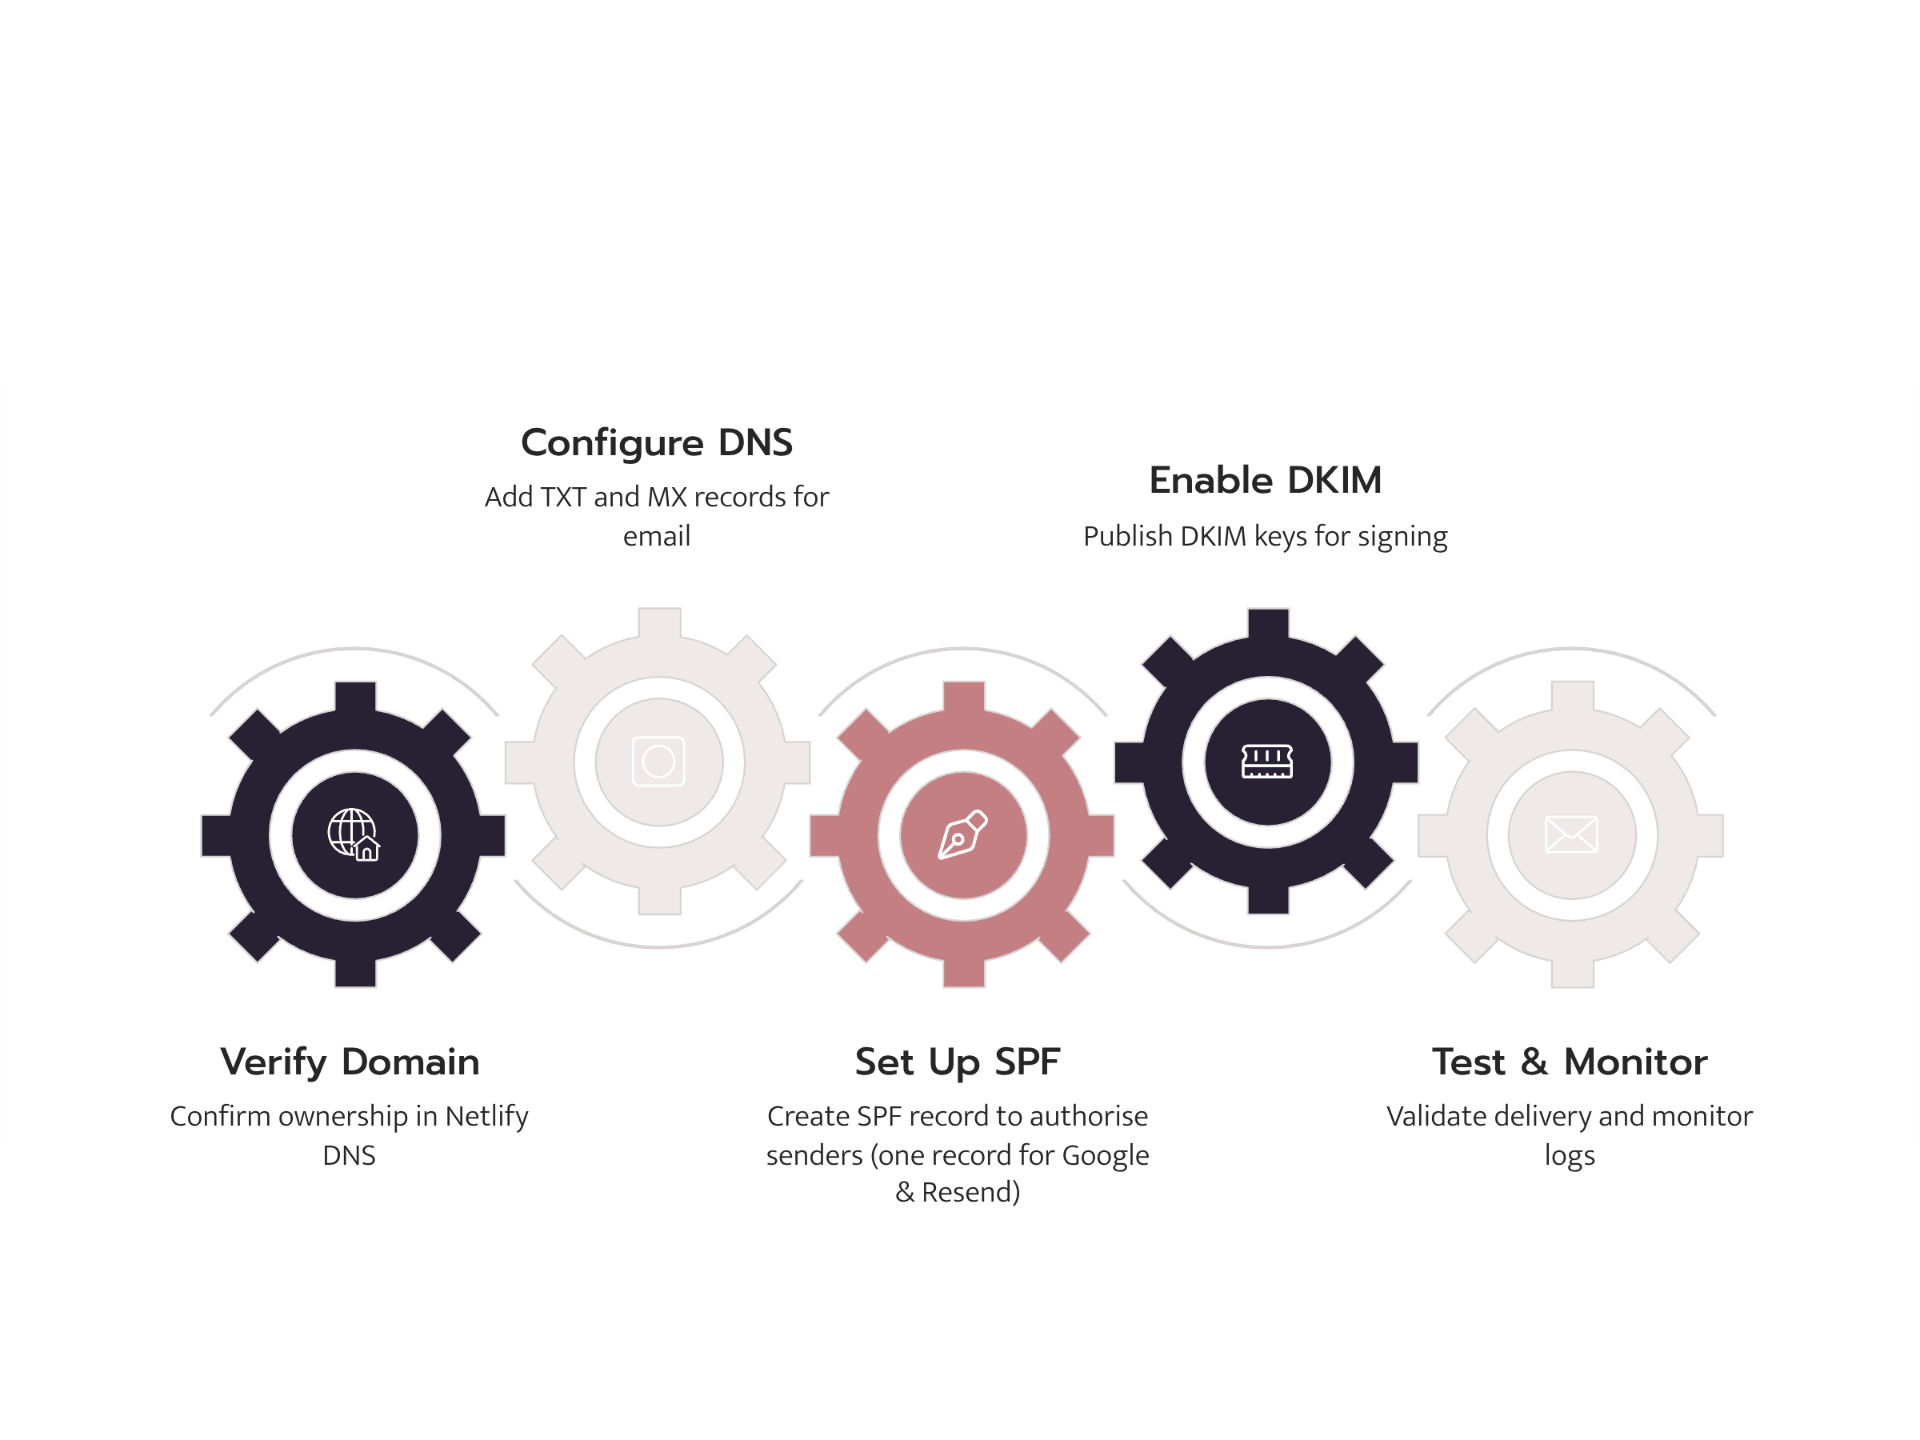
Setting Up Your Unified SPF Policy on Netlify DNS
Your website is hosted on Netlify software. Netlify also manages your domain's DNS settings. This makes the setup straightforward because everything is in one place.
Here's the exact path to configure your email authentication:
Step 1: Understand What Records You Need
Before you make any changes on Netlify, get the SPF values from both email services:
From Google Workspace:
Google's SPF authorization code is: include:_spf.google.com
From Resend:
Resend's SPF authorization code is: include:resend.com
You'll combine both of these into one unified record in Netlify DNS.
Step 2: Access Netlify DNS Settings
- Log into your Netlify account (the service hosting your website)
- Select your website (the one built with Lovable software)
- Go to Site settings → Domain management → DNS settings
- You should see your domain listed with a "Manage DNS" or "Edit DNS records" button
- Click that button
If you don't see DNS controls, check that your domain's nameservers point to Netlify. Netlify's help documentation can guide you if you're unsure.
Step 3: Check for Existing SPF Records
Before adding your unified record, look for any existing email records (especially if you already set up Google Workspace).
Look for any existing TXT record that starts with "v=spf1". If one exists, you'll update it instead of creating a new one.
Important rule: Only one SPF record can exist per domain. If you have two SPF records, email authentication will fail permanently.
Step 4: Create or Update Your Unified SPF Record
In Netlify DNS, add a new TXT record (or update the existing one) with these details:
Record Type: TXT
Name/Subdomain: @ (this symbol represents your root domain)
Value:
v=spf1 include:_spf.google.com include:resend.com ~all
What each part means:
v=spf1- Tells email servers this is an SPF record (version 1)include:_spf.google.com- Tells email servers that Google Workspace's mail servers are authorized to send from your domaininclude:resend.com- Tells email servers that Resend's mail servers are authorized to send from your domain~all- Soft-fail mode: If an unauthorized mail server tries to send from your domain, email servers will still deliver the message but mark it as suspicious (this is the safe option while testing)
Click Save or Create Record.
Step 5: Add Your DKIM Records
SPF proves you authorized the mail servers. DKIM adds a digital signature that proves your emails haven't been altered.
For Google Workspace DKIM:
- Go to Google Admin Console (admin.google.com) → Apps → Google Workspace → Gmail → Authenticate email
- Click your domain name → Generate New Record
- Copy the long DKIM public key that Google provides
- Go back to Netlify DNS and add a new TXT record:
- Record Type: TXT
- Name:
google._domainkey(use exactly what Google specifies) - Value: Paste the DKIM key Google gave you
- Click Save and then go back to Google Admin Console to verify the record (wait 1-2 hours for this to complete)
For Resend DKIM:
- Log into Resend software
- Go to your domain settings
- Find the DKIM record Resend provides (it will have a specific name and a key)
- Go to Netlify DNS and add it as a TXT record with the exact name and value Resend shows
- Click Save and then verify in Resend
Note: Google Workspace automatically handles DKIM signing if you enable it in their admin console. Resend will give you specific DKIM records to copy and paste.
Step 6: Add Your DMARC Record
DMARC tells email servers what to do with emails that don't pass the SPF or DKIM authentication checks.
In Netlify DNS, add a new TXT record with these details:
Record Type: TXT
Name: _dmarc
Value:
v=DMARC1; p=quarantine; rua=mailto:postmaster@yourcompany.com; ruf=mailto:postmaster@yourcompany.com; fo=1
What each part means:
v=DMARC1- This tells email servers you're using DMARC version 1p=quarantine- Tells email servers to put suspicious emails in the spam folder (don't reject them completely). This is the safe starting point while you test your setuprua=mailto:postmaster@yourcompany.com- Tells DMARC to send you a weekly summary report to this email addressruf=mailto:postmaster@yourcompany.com- Tells DMARC to send detailed reports about failed emails to this addressfo=1- Tells DMARC to report on all failures
Replace postmaster@yourcompany.com with your actual email address (or whatever email you want to receive reports at).
Click Save.
Step 7: Wait for DNS to Update Everywhere
DNS changes don't happen instantly. Netlify usually updates within 5-30 minutes, but email servers around the world can take up to 48 hours to see your new records.
Do not test your email setup immediately. Wait at least 1-2 hours before sending test emails. If you test too early, everything will appear to fail, even though it's actually working fine.
Step 8: Verify Your Records Are Set Up Correctly
Use free online tools to check that your records are working:
- Go to MXToolbox.com
- Use their "SPF Check," "DKIM Check," and "DMARC Check" tools
- Enter your domain name
- All three checks should show "Pass" or show your records as valid
If any show errors, go back to your Netlify DNS and double-check that you copied the records correctly.
Step 9: Send Test Emails
Send a test email from Resend (through your Lovable web application) to a Gmail account.
- Open the email in Gmail
- Click the small dropdown arrow next to the sender's name
- Click "Show original"
- Scroll down to find the line that says "Authentication-Results"
Look for these three results:
spf=pass
dkim=pass
dmarc=pass
If you see "fail" or "neutral" instead of "pass," something isn't configured correctly. Check the common mistakes section below for help.
Also send a test email directly from your Google Workspace email (support@yourcompany.com) to a Gmail account. Check the same Authentication-Results header.
Step 10: Check Your Email Delivery Dashboard
In Resend software, go to your domain settings and look at the delivery dashboard. You should see:
- Delivered: 98% or higher
- Bounced: Less than 1%
- Spam complaints: 0 or very close to 0
These numbers tell you that your email authentication is working correctly.
Common Mistakes When Setting Up Google Workspace and Resend Together
You've configured your unified SPF policy. But your test emails still go to spam. Here are the mistakes that trap founders:
Mistake 1: Two SPF Records Instead of One (The Most Common Problem)
You set up Google Workspace's SPF record first: v=spf1 include:_spf.google.com ~all
Then you add Resend's SPF record: v=spf1 include:resend.com ~all
Now you have two separate SPF records. This breaks email authentication permanently.
Fix: Delete one. Create a single unified record:
v=spf1 include:_spf.google.com include:resend.com ~all
Go back to Netlify DNS and confirm you only have one TXT record with the name "@" that starts with "v=spf1".
Mistake 2: Testing Too Soon After Making DNS Changes
You added the DNS record and tested your email immediately. It failed.
DNS changes need time to spread across the internet. Email servers especially are slow to update their records.
Wait at least 1-2 hours before testing. Netlify updates quickly (usually 5-30 minutes), but you need to give email servers time to pick up the changes globally.
Mistake 3: DKIM Key Doesn't Match Between Services
You added Google Workspace's DKIM record. You added Resend's DKIM record. But they don't match, or one has a typo.
Double-check:
- Copy Google's DKIM key from Google Admin Console exactly as it appears
- Copy Resend's DKIM key from Resend exactly as it appears
- Make sure the record names in Netlify DNS match exactly what each service specifies
One character wrong breaks DKIM signing.
Mistake 4: DMARC Policy Too Strict from the Start
You set DMARC to p=reject on day one. Now all your emails are being rejected.
Start with p=quarantine. This puts suspicious emails in spam but doesn't reject them completely.
Once you've verified both Google Workspace and Resend are passing all authentication checks, you can move to p=reject.
Mistake 5: Soft-fail vs Hard-fail Confusion
Your SPF record ends with ~all (soft-fail). Some emails still land in spam.
This is actually correct behavior. Soft-fail tells email servers: "If an unauthorized mail server sends from my domain, be suspicious, but still deliver the email."
Hard-fail (-all) tells them: "Reject it immediately."
For testing and starting out, soft-fail is safer. Once you're confident in your setup, you can move to hard-fail.
Mistake 6: Sending from the Wrong Email Address
Your Lovable web application is configured to send from noreply@mail.yourcompany.com. But you only set up SPF and DKIM for yourcompany.com (not the mail subdomain).
The domain must match. Either:
- Send from
noreply@yourcompany.com(matches your main SPF record), or - Create separate SPF and DKIM records for the
mailsubdomain
The easiest fix: tell Resend to send from the main domain, not a subdomain.
Mistake 7: Forgot to Enable DKIM in Google Admin Console
You added the DKIM record to Netlify DNS. But you didn't enable DKIM in Google Workspace's admin console.
Google won't sign your emails with DKIM unless you turn it on.
Go to Google Admin Console (admin.google.com) → Apps → Google Workspace → Gmail → Authenticate email → Select your domain → Click "Start Authentication"
Wait 1-2 hours for Google to detect the DNS record and enable signing.
Beyond Basics: Email Best Practices at Higher Volume
You've successfully set up unified SPF, DKIM, and DMARC. Your emails are authenticating correctly. Now what?
Once you've verified both Google Workspace and Resend software are working correctly, there are additional practices that keep email delivery strong as you grow:
Monitor Your DMARC Reports
Your DMARC record is set to send you reports to postmaster@yourcompany.com. After 24 hours, you'll start receiving emails with DMARC reports.
Read these reports weekly. They tell you:
- What percentage of your emails are passing authentication (should be 100%)
- If anyone is trying to impersonate your domain (security issue)
- Where authentication is failing (helps debug problems)
These reports are your early warning system for email problems.
Gradually Increase Email Volume
If you're planning to send a lot of emails through Resend, don't send thousands on day one.
Gradually increase your email volume:
- Send 100 emails on day 1
- Send 500 emails on day 3
- Send 2,000 emails by day 7
- Send full volume by day 14
This helps build a good sender reputation with email providers. It's like proving you're a legitimate sender before asking for high volume.
Watch Your Bounce and Complaint Rates
Check Resend's dashboard regularly:
- Bounces above 2%: There's a problem with your email list or content
- Spam complaints above 0.1%: People are marking your emails as spam
Both hurt your sender reputation. Fix them immediately if you see them.
Use Separate Addresses for Different Types of Email
If you send both automatic emails (welcome, password reset) and marketing emails (newsletters), use different email addresses:
noreply@yourcompany.comfor automatic emails from your web applicationmarketing@mail.yourcompany.comfor marketing and newsletters
This keeps sender reputation separate. If your newsletter gets marked as spam, it won't hurt your automatic email delivery.
You'll need separate DKIM records for each if they come from different services.
Why Email Configuration Matters for Non-Technical Founders
Building with AI tools gets you to market fast.
You used Lovable software to build your web application in days instead of months. You connected Resend software in minutes. You thought email would just work.
But email delivery is where "I launched something" becomes "I have a reliable business."
This is the moment where founders realize: I can't use AI to automatically handle infrastructure. I need to understand it and set it up myself.
The SPF, DKIM, and DMARC setup you just did isn't something you build with prompts. It's foundational infrastructure. And it's worth doing right on day one because fixing email problems later (when your sender reputation is damaged) is ten times harder.
Moving From Quick Launch to Production-Ready
Your web application is live. Both email services are working. Emails are arriving in inboxes, not spam.
You've successfully moved from "I launched something" to "I have a production application."
But there are more infrastructure layers ahead: how to handle growing numbers of users, protecting customer data, making sure your application stays secure, making sure it's fast even when thousands of people use it at once.
Lovable, Resend, and other AI-assisted software tools handle the hard part: building applications quickly. But production infrastructure still requires thinking, planning, and expertise.
This is where many non-technical founders need help.
What FutureHabits.tech Does
FutureHabits.tech specializes in taking web applications built with AI tools and turning them into production-ready applications that can scale and grow.
We handle the infrastructure layer: email authentication, databases, security, protecting customer data, making sure everything is fast and reliable. This frees you up to focus on your business and your customers.
If you've built a web application with Lovable software and you're hitting that moment where you need reliable infrastructure and expert guidance, let's talk.
Schedule a Free Strategy Call with FutureHabits.tech
We'll look at your application's infrastructure, find the weak spots, and show you the roadmap to a truly production-ready application.
Or learn more about our Vibe Coding to Production Services. We specialize in taking applications built with AI tools and making them into scalable, secure, reliable applications that your customers can trust.